|
|
|
|
|
Batcat, how to Photoshop a Batman mask on a cat
In this fun tutorial we will learn how to manipulate the image of a cat in a way the cat is going to wear a Batman mask and like it.
|
|
 |
|
|
|
|
|
 |
|
 |
|
 |
 |
1.
|
|
|
Open a picture of a cat in Photoshop and click here to download image of a Batman mask.
|
|
| |
2.
|
|
|
In the menu click File and choose Place...
Double-click the download Dreevoo_com_batman_mask.png.
|
|
| |
3.
|
|
|
Move and drag the mask over the cat's face like I did and resize it so it will fit the head and eyes by dragging the corners ...
If you don't want to lose the mask proportions hold Shift while resizing.
|
|
| |
4.
|
|
|
... rotate the mask a bit when needed.
Go outside of the selection a bit to rotate the mask, you will notice the cursor turning into rotation arrows, just click and move the mouse to rotate the mask.
|
|
| |
6.
|
|
|
Choose the Stamp Tool.
|
|
| |
7.
|
|
|
I will now delete all the redundant parts of the cat that are sticking out of the mask.
Press Alt and click the area you want to clone from ...
|
|
| |
8.
|
|
|
... now start cloning/erasing ...
|
|
| |
9.
|
|
|
... until you clean it all.
|
|
| |
11.
|
|
|
Choose the Elliptical Marquee Tool.
|
|
| |
12.
|
|
|
Draw a selection like I did.
|
|
| |
13.
|
|
|
Select the Gradient Tool.
|
|
| |
14.
|
|
|
Press D and X to set the white foreground and black background color.
Choose the Foreground to Background gradient and choose Radial Gradient (see picture).
|
|
| |
15.
|
|
|
Now click in the center of the cat's eye and drag the mouse to the edge of the eye hole on the mask to create a gradient similar to mine.
You can repeat the step as many times as you want if you don't get it right at once.
|
|
| |
16.
|
|
|
Now do the same for the second eye (step 11 - 15).
|
|
| |
17.
|
|
|
Set the layer Opacity to about 65% and choose Multiply as a layer's Blending Mode.
|
|
| |
18.
|
|
|
Now choose the Polygonal Lasso Tool.
|
|
| |
19.
|
|
|
We will create a bit of shade under the mask for a more realistic look.
Draw a selection like I did.
|
|
| |
21.
|
|
|
In the menu click File and choose Refine Edge...
Set Feather to about 6 px.
|
|
| |
22.
|
|
|
Choose the Paint Bucket Tool.
Press D to set the Black foreground color.
|
|
| |
23.
|
|
|
Click into the selection to paint it black.
Set the layer's opacity to about 80, press Ctrl + D to deselect the selection and you are done!
|
|
| |
24.
|
|
|
Meet, the mighty Batcat, righteous warrior of the nights - occasionally will vomit hairballs.
I added some light on the left side of the Batman mask to make the image a bit more realistic as there is a lot of light coming from the left on the original cat picture.I just selected the small left area of the mask, and added some light using Levels (Ctrl + L).
Click here if you want to see my version of a Batcat and you are more than welcome to show us yours, just click the Comment and submit your Batcat. We will reward anyone who dares. :)
|
|
|
 |
 |
 |
|
 |
|
|
| |
|
|
 |
|
NikMan,
30th Jul 2012, 2:14 AM |
|
 |
Hehehe, I must make some photoshop dog too  |
 |
|
|
|
|
|
 |
|
mat,
30th Jul 2012, 2:14 AM |
|
 |
| Do it! |
 |
|
|
|
|
|
 |
|
NikMan,
30th Jul 2012, 4:37 AM |
|
 |
With that sentence you've remembered me on movie scene from Starsky & Hutch 
|
 |
|
|
|
|
|
 |
|
NikMan,
30th Jul 2012, 4:37 AM |
|
 |
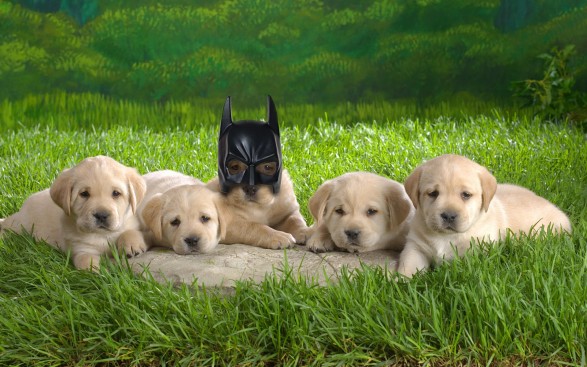
Anyway, here is my batdog 
 |
 |
|
|
|
|
|
 |
|
mat,
30th Jul 2012, 4:53 AM |
|
 |
Haha nice one, you just earned 10 Tokens to your account sir.  |
 |
|
|
|
|
|
 |
|
 |
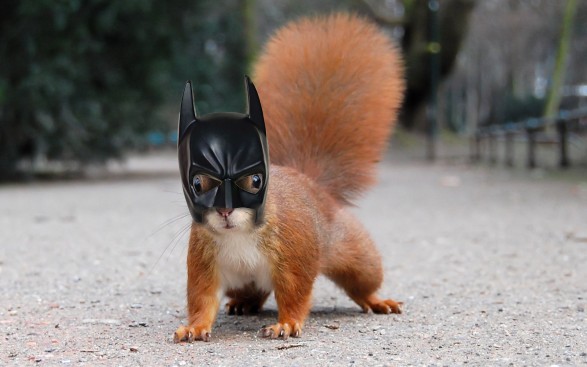
Here is my version of batsquirrel.
PS: I want tokens too 
 |
 |
|
|
|
|
|
 |
|
 |
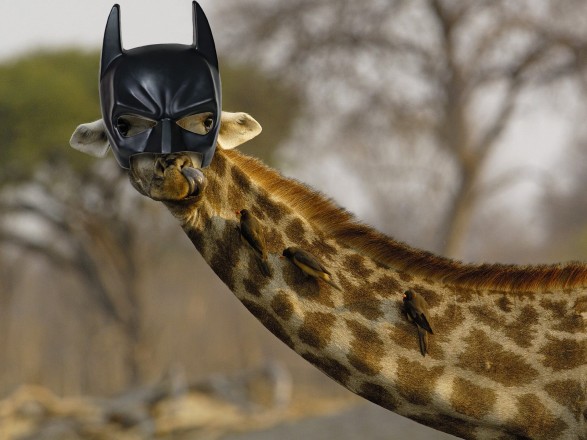
My skillz with PS are not so good but here is my example of Batgiraffe 
 |
 |
|
|
|
|
|
 |
|
 |
I really like your version, NikMan  |
 |
|
|
|
|
|
 |
|
NikMan,
30th Jul 2012, 6:32 AM |
|
 |
| Thanks. Yours is great too. You've used also a Warp Tool I see. |
 |
|
|
|
|
|
 |
|
mat,
30th Jul 2012, 7:42 AM |
|
 |
Haha, you guys are awesome, JJ and Muakarachi, check your accounts, 10 Tokens added to your accounts.  |
 |
|
|
|
